Forget everything you thought you knew about complicated, yeast-laden sweet buns. This recipe delivers the ultimate indulgence – soft, pillowy buns with a gloriously crispy exterior – without the fuss of yeast or the harsh taste of baking ammonia. These simple sweet buns are perfect for breakfast, brunch, or an afternoon treat, easily adaptable to your favorite fillings and glazes. Imagine sinking your teeth into a warm, golden-brown bun, its sweetness perfectly balanced by a delightful crispness.
This recipe simplifies the sweet bun experience, making it achievable for even the most novice baker. We'll guide you through each step with clear instructions and helpful tips, ensuring perfectly baked buns every time. Ready to embark on this delicious journey? Let's dive into the step-by-step process below.
Tools Needed
- 2 containers
- sifter
Ingredients
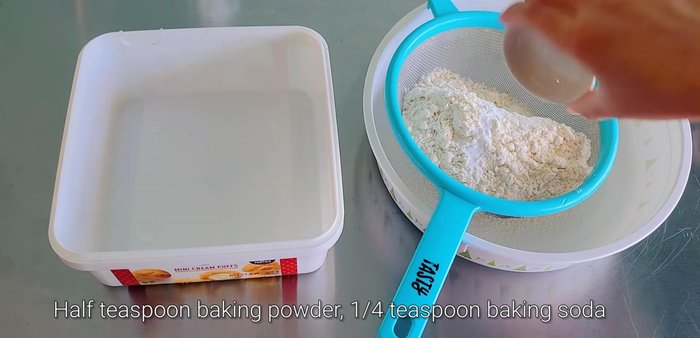
- All-purpose flour: 250 grams
- Baking powder: 1/2 teaspoon
- Baking soda: 1/4 teaspoon
- Sugar: 80 grams
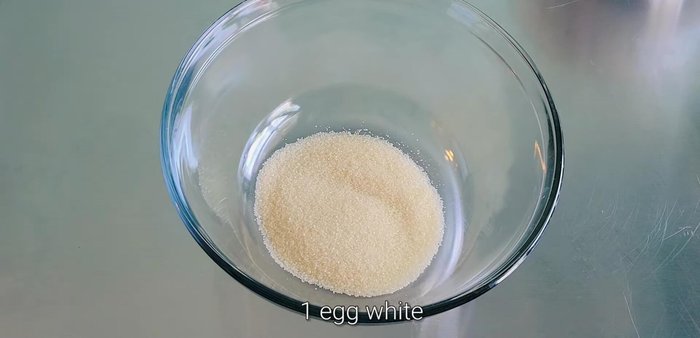
- Egg white: 1
- Salt: 1/4 teaspoon
- Yogurt flavoring: 1 tablespoon
- Warm water: 90-100 grams
- Vegetable oil: 1/2 tablespoon
Step-by-Step Instructions
Step 1. Prepare the Batter
- Sift together the flour, baking powder, and baking soda 2-3 times.
- In a separate bowl, combine sugar, egg white, salt, yogurt flavoring, and gradually add warm water, mixing until well combined.
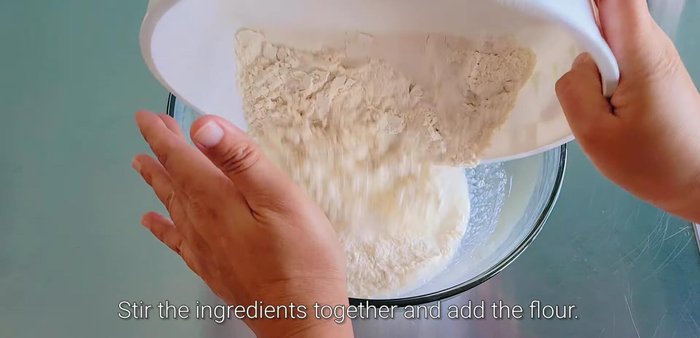
- Add the wet ingredients to the dry ingredients and mix until a dough forms. Add more water if needed to achieve a slightly sticky but not wet dough.
- Add vegetable oil and mix gently.

Step 2. Rest and Shape the Dough
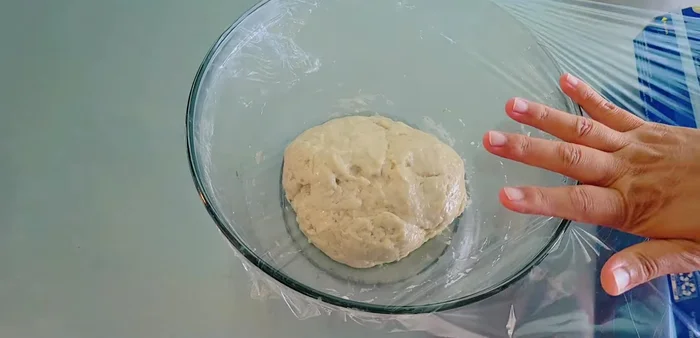
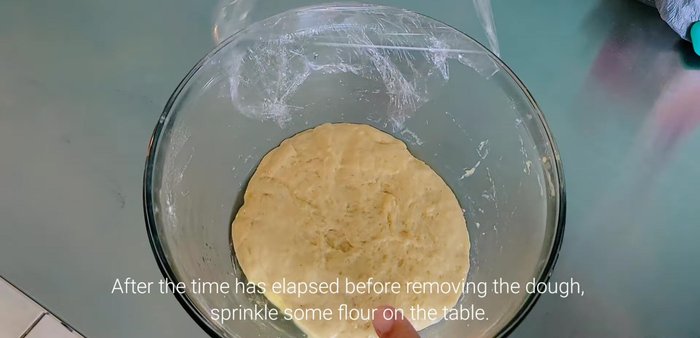
- Let the dough rest for 1-2 hours.
- Once rested, sprinkle flour on a surface and gently knead the dough.
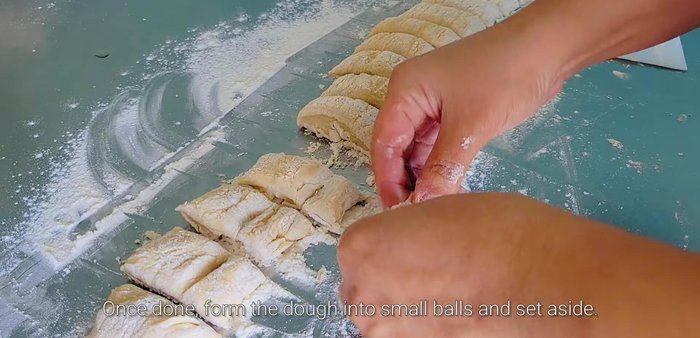
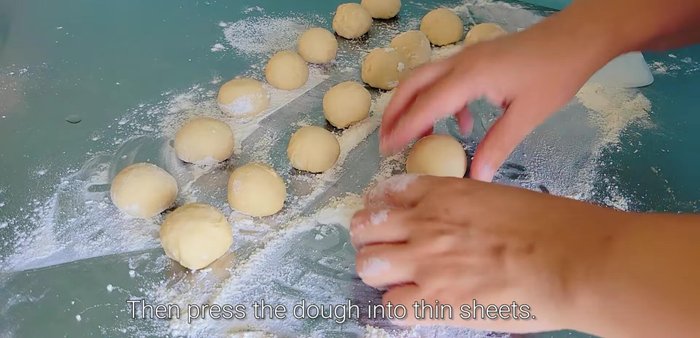
- Roll out the dough into a long log and cut into equal sized pieces.
- Shape each piece into a ball, then flatten slightly.

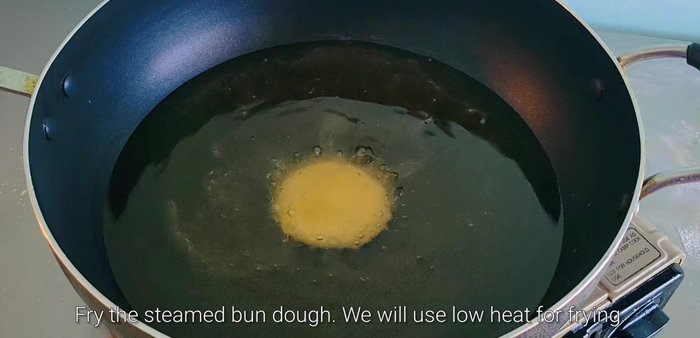
Step 3. Fry the Sweet Buns
- Heat oil in a pan over medium heat.
- Fry the flattened dough balls until golden brown, pressing down gently if they puff up too much.
Read more: Thai Mussel Pie Tee: Michelin-Starred Amuse-Bouche Recipe
Tips
- Don't add all the water at once. Add gradually as needed.
- The dough should be slightly sticky, but not too wet.
- Use tools to help flatten the dough if desired.
- Fry over medium heat to prevent burning.
Nutrition
- N/A
FAQs
1. Can I make these sweet buns ahead of time?
Yes! Baked buns can be stored in an airtight container at room temperature for up to 2 days, or frozen for up to 3 months. Reheat gently in the oven or microwave before serving.
2. What kind of flour should I use?
All-purpose flour works best for this recipe. Bread flour can be used, but the buns might be slightly chewier.
3. Can I add different fillings or toppings?
Absolutely! Get creative! Try adding raisins, chocolate chips, cinnamon, or a simple glaze after baking.
These easy-to-make sweet buns are a guaranteed crowd-pleaser, perfect for any occasion. Enjoy the satisfying contrast of their crispy exterior and fluffy interior – a testament to the magic of simple baking. Now go forth and bake deliciousness!