Indulge in the delightful world of Thai desserts with Khanom Kai Hong, a captivating treat known for its uniquely crispy egg yolk exterior and subtly sweet interior. This traditional Thai dessert, often enjoyed as a comforting snack or celebratory sweet, boasts a captivating texture that's both satisfyingly crunchy and delicately soft. The rich golden hue of the egg yolks, beautifully contrasted against the airy cake, makes Khanom Kai Hong visually stunning, a true testament to Thai culinary artistry. The process of creating this exquisite dessert may seem intricate, but with careful attention to detail, you can achieve perfectly crispy results.
The key to mastering Khanom Kai Hong lies in the precise balance of ingredients and careful attention to cooking technique. This recipe will guide you through each step, from preparing the egg yolk batter to achieving that signature crispy texture. Let's embark on this culinary journey together and unlock the secrets to creating this irresistible traditional Thai dessert.
Tools Needed
- Microwave
- Mixing bowl
- Sieve
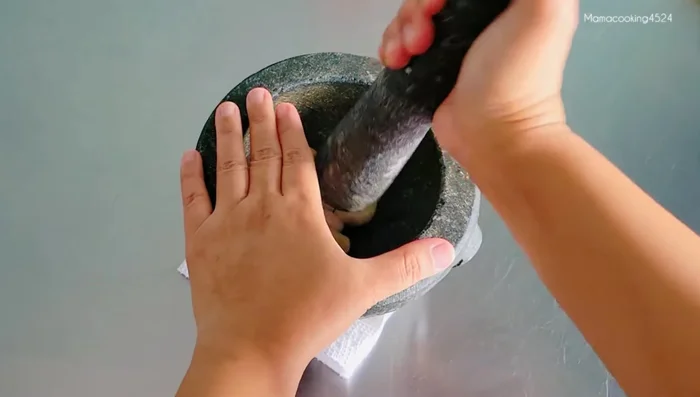
- Mortar and pestle
- Wok or frying pan
- Spatula
- Whisk
- Cooling rack
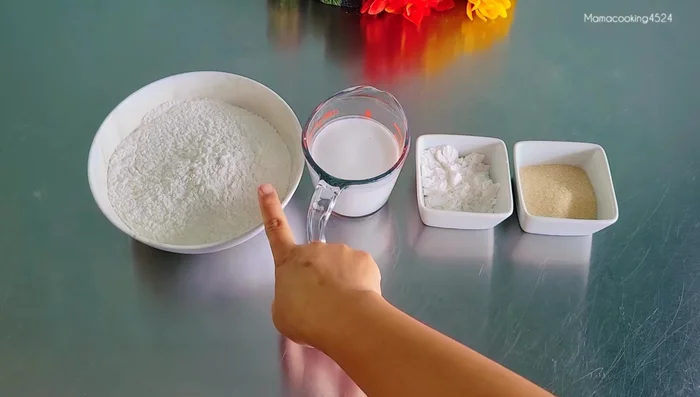
Ingredients
- Glutinous rice flour: 250 grams
- Rice flour: 30 grams
- Sugar: 50 grams
- Coconut milk: 200-250 ml
- Mung beans (peeled): 200 grams
- Garlic: 1 whole head
- Salt: 1/2 teaspoon
- Vegetable oil: 50 ml + for frying
- Pepper (white pepper preferred): 1 1/2 teaspoons
- Sugar for coating: 200 grams
- Water for coating: 125 ml
- Salt for coating: 1/4 teaspoon
Step-by-Step Instructions
Step 1. Prepare the Dough and Filling
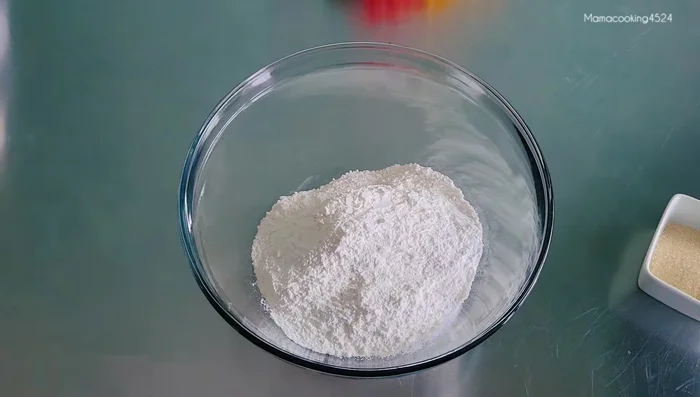
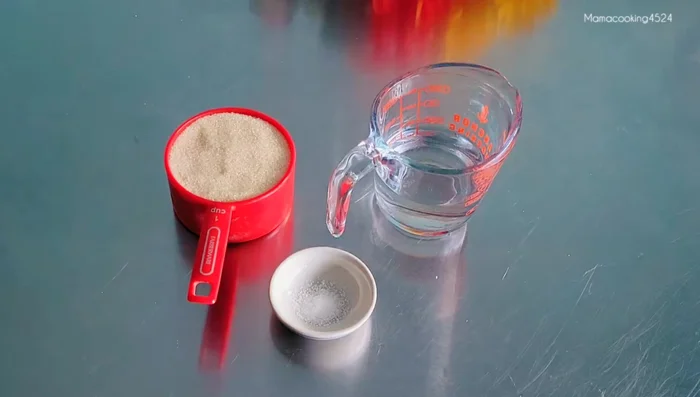
- Mix glutinous rice flour, rice flour, and sugar. Heat coconut milk for 1 minute in the microwave.
- Gradually add heated coconut milk to the flour mixture, mixing until a soft, non-lumpy dough forms. Knead for about 5 minutes.
- Wash and soak mung beans in hot water for 10-15 minutes until softened. Boil for 10 minutes until soft.
- Pound garlic and pepper until finely ground.

- Stir-fry garlic and pepper in vegetable oil over medium-low heat until fragrant and lightly yellow.
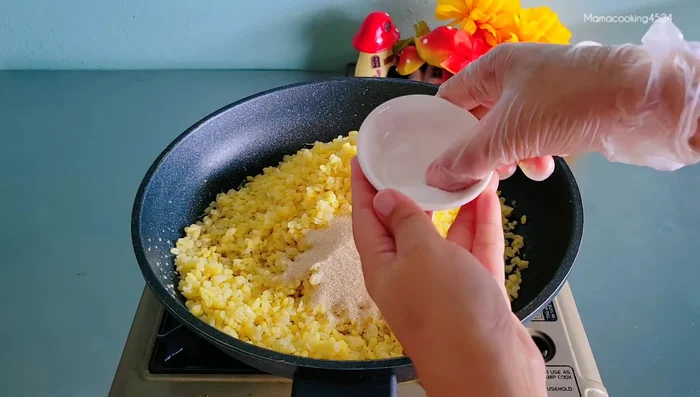
- Add boiled mung beans, sugar, and salt to the garlic-pepper mixture. Stir-fry and mash the beans until well combined and forms a lump.
- Let the filling cool completely.

Step 2. Assemble and Fry the Dough Balls
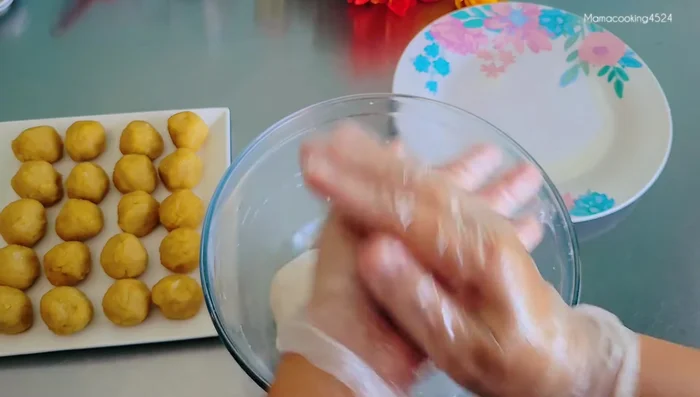
- Divide the cooled filling into 20 equal portions and shape into balls.
- Divide the dough into 20 equal portions (approx. 30-35 grams each).
- Wrap each filling ball with a portion of dough, shaping it into a round ball.
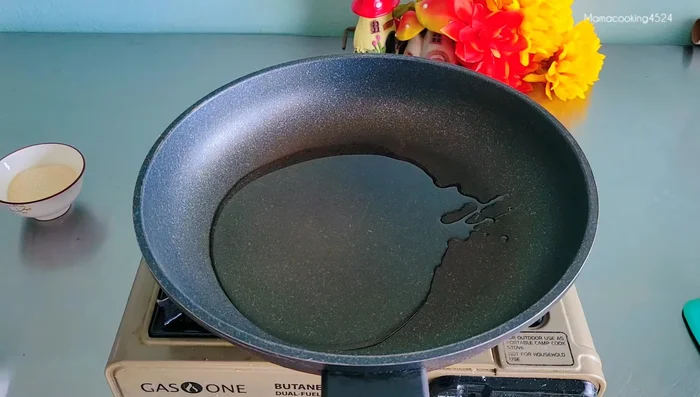
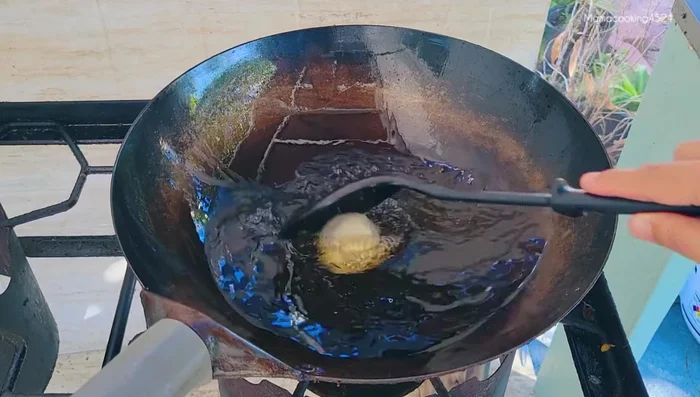
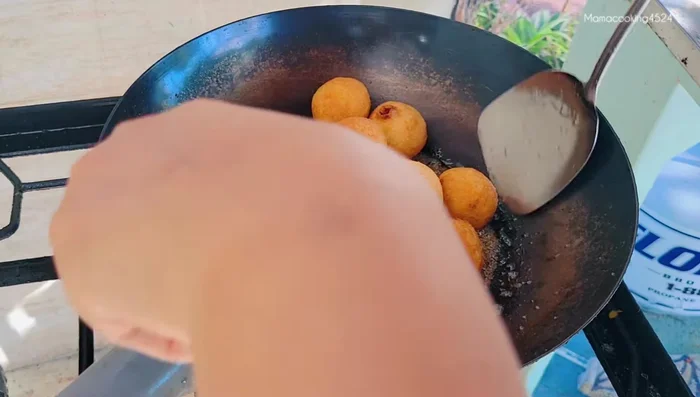
- Heat enough vegetable oil in a wok or frying pan over medium-low heat. Fry the dough balls one at a time, ensuring they don't stick together.


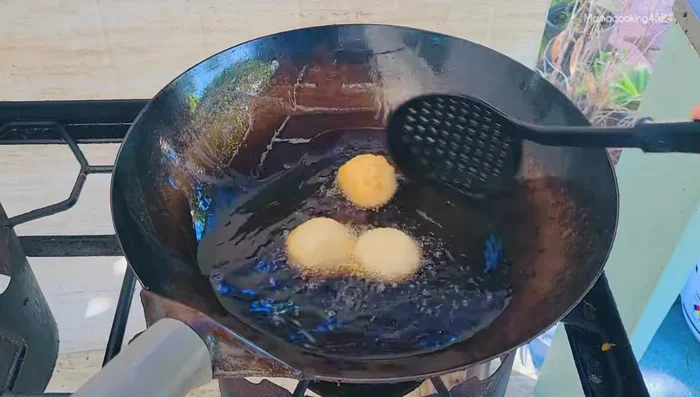
- Fry until golden brown and crispy, using a strainer to remove excess flour from the pan between batches.
Step 3. Make the Sugar Coating
- Combine sugar, water, and salt in a pan. Heat over medium heat, stirring until the sugar melts and forms large bubbles.
- Add the fried dough balls to the sugar syrup and stir quickly until evenly coated. Turn off heat and continue stirring until the sugar crystallizes.
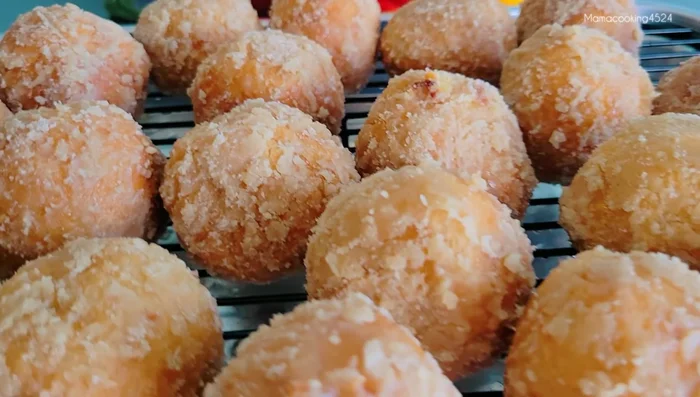
Step 4. Finish and Cool
- Place the coated dough balls on a cooling rack to cool completely.
Read more: Crispy Thai Corn Fritters: Easy Party Snack Recipe
Tips
- Using white pepper enhances the traditional Thai flavor.
- Medium-low heat is crucial for even cooking and preventing burning during both frying and sugar coating.
- Fry the dough balls one at a time to prevent sticking.
- Pressing the fried dough balls gently helps create a crispier texture and even sugar coating.
- Keep stirring the sugar coating until it cools and forms white crystals to prevent it from sticking.
Nutrition
- N/A
FAQs
1. Can I use regular eggs instead of separating the yolks and whites?
No, separating the yolks and whites is crucial for achieving the crispy texture and golden color characteristic of Khanom Kai Hong. Using whole eggs will result in a different, less crispy cake.
2. How do I know when the Khanom Kai Hong is cooked?
The cake is ready when the surface is golden brown and crispy, and a toothpick inserted into the center comes out clean. The cooking time may vary slightly depending on your stovetop and pan.
With its delightful blend of crispy and soft textures and rich, eggy flavor, Khanom Kai Hong is a truly rewarding dessert to make. This traditional Thai treat is perfect for sharing with friends and family, or simply enjoying a taste of authentic Thai cuisine at home. So, gather your ingredients and embark on this delicious culinary adventure!