Forget everything you thought you knew about pork rinds. These aren't your grandma's greasy, tough chips. We're diving into the world of unbelievably fluffy, shatteringly crisp pork rinds, a snack so addictive, you'll be making batch after batch. Imagine the perfect balance: a light, airy interior giving way to an intensely crunchy exterior, seasoned to perfection. This isn't just a snack; it's an experience – a textural masterpiece that will redefine your expectations of this classic treat. We've perfected the technique to achieve that elusive fluffy interior without sacrificing the crucial satisfying crunch.
This recipe unlocks the secret to creating pork rinds that are both incredibly light and intensely crispy, a feat often considered impossible. Forget complicated equipment or hard-to-find ingredients; this recipe utilizes simple techniques and readily available supplies. Ready to transform ordinary pork skins into extraordinary edible delights? Let's get started with our step-by-step guide to making these unbelievably fluffy and crispy pork rinds.
Tools Needed
- Pot
- Knife
- Measuring spoons
- Large frying pan
Ingredients
- Pork skin
- Salt: 2 tablespoons
- Pork seasoning powder: 3 tablespoons
- Other seasoning powder: 1 tablespoon
- Vinegar
- Green cap sauce (optional)
Step-by-Step Instructions
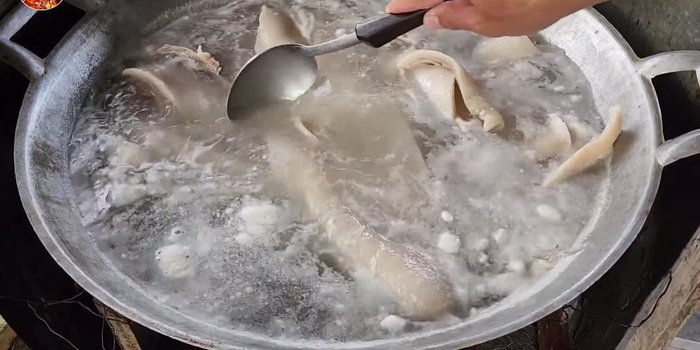
Step 1. Prepare the Pork Skin
- Remove all hair from the pork skin and wash thoroughly. Use vinegar to remove fishy smell if needed.
- Boil the pork skin for about 15 minutes, optionally adding a little salt.
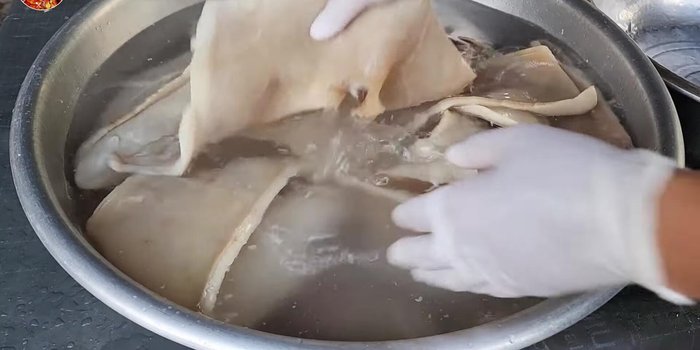
- Rinse the boiled pork skin with cool water to remove grease.
- Cut off all excess fat from the pork skin to prevent rancidity.

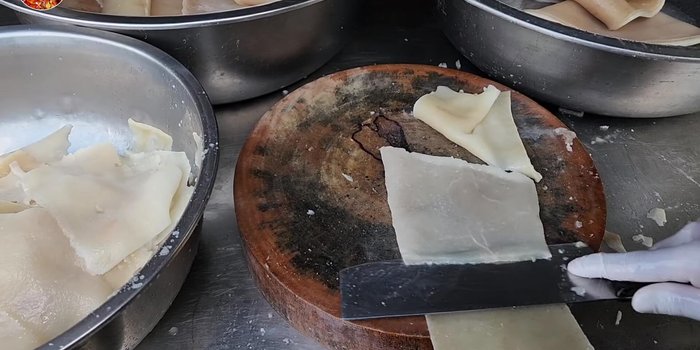
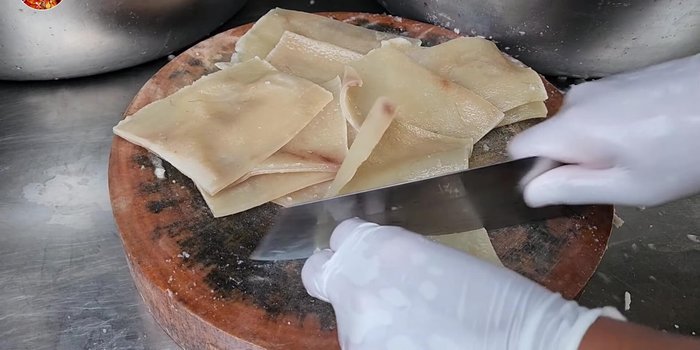
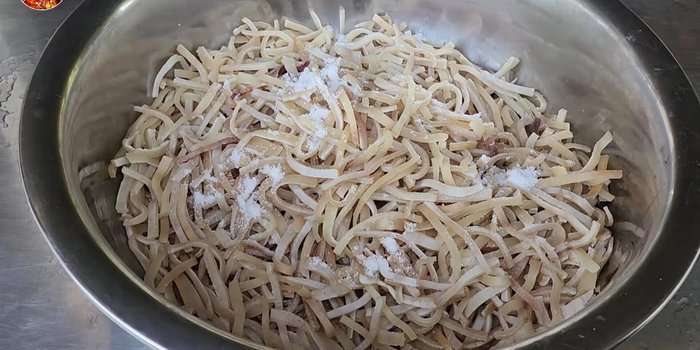
- Cut the pork skin into small, even pieces (about 3-4 mm thick, 10 cm long).
Step 2. Season and Dry
- Mix the cut pork skin with salt, pork seasoning powder, and other seasoning powder (and optional green cap sauce).
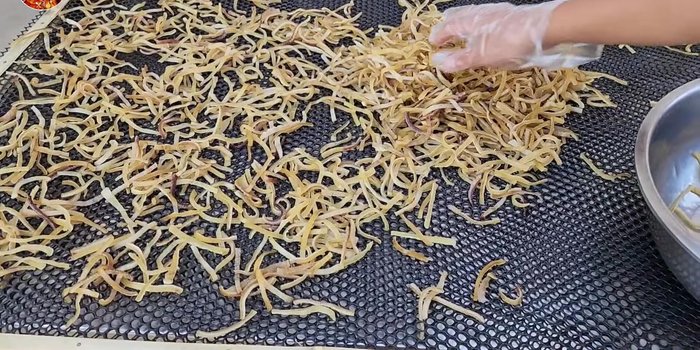
- Spread the seasoned pork skin and let it dry completely (about 2 days, depending on sunlight).
Step 3. First Fry (Low Heat)
- Fry the pork skin over low heat until moisture is expelled and air bubbles appear. Remove and let it rest in the oil for at least 4-5 hours (or overnight).

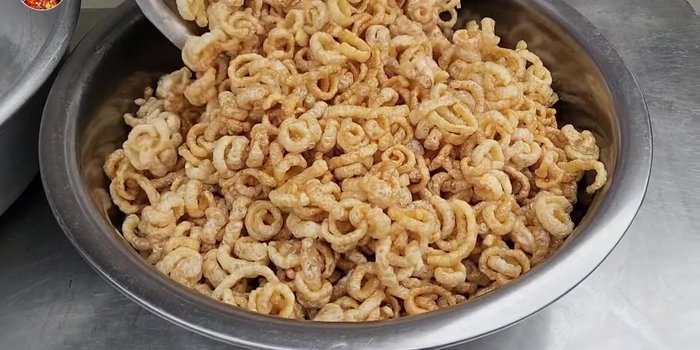
Step 4. Second Fry (High Heat) & Finish
- Fry the pork skin again over high heat until it puffs up and turns light yellow.
- Remove the pork rinds and let them rest until the oil is completely absorbed.

Read more: Thai Mussel Pie Tee: Michelin-Starred Amuse-Bouche Recipe
Tips
- Use fresh pork skin for the best results. Avoid frozen pork skin.
- Frying twice ensures fluffier and crispier pork rinds.
- Use lard to soak the pork rinds for added flavor.
- Adjust the amount of seasoning to your preference.
Nutrition
- Calories: Approximately 500-600
- Fat: Approximately 30-40g
- Carbs: Approximately 0-1g
- Protein: Approximately 60-70g
FAQs
1. Can I make fat-free pork rinds without deep frying?
While deep frying achieves the crispiest results, you can achieve a good level of crispness by baking them at a high temperature. They might not be quite as intensely crunchy, but will still be delicious and significantly lower in fat.
2. How long can I store my homemade fat-free pork rinds?
Store them in an airtight container at room temperature for up to a week. For longer storage, consider freezing them for up to 3 months.
So there you have it – a recipe for incredibly crispy, surprisingly fat-free pork rinds that are perfect for snacking or even selling at farmers' markets or online. This recipe empowers you to create a healthier, delicious alternative to traditional pork rinds, opening up exciting possibilities for your culinary adventures and potential business ventures. Now get cooking, and enjoy the satisfying crunch!