Craving the satisfying crunch of pork rinds but wary of the high fat content? You're not alone! Many people enjoy the unique texture and savory flavor of pork rinds, but the fat and calories can be a deterrent. This recipe delivers a surprisingly crispy, satisfying alternative that significantly reduces the fat without sacrificing that signature crunch. We'll achieve this through a clever technique involving careful cooking and strategic ingredient choices, resulting in a guilt-free snack you can feel good about enjoying. Forget the greasy, heavy versions of the past; this recipe offers a lighter, healthier approach to a beloved classic.
Prepare to experience a delightful twist on a traditional favorite! This recipe for crispy, fat-free pork rinds is surprisingly easy to follow and will leave you amazed at how much flavor and texture you can achieve with minimal fat. Let’s dive into the step-by-step process and create some unbelievably delicious, guilt-free pork rinds.
Tools Needed
- Pot
- Gas gun (optional)
- Knife
- Shaving razor (optional)
- Winnowing basket or tray
- Frying pan
Ingredients
- name: Pig skin
- amount
Step-by-Step Instructions
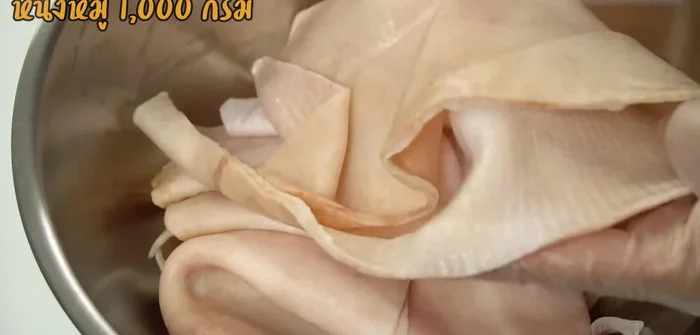
Step 1. Prepare the Pig Skin
- Clean and wash the pig skin thoroughly. Remove any remaining hair using a shaving razor or a gas gun.
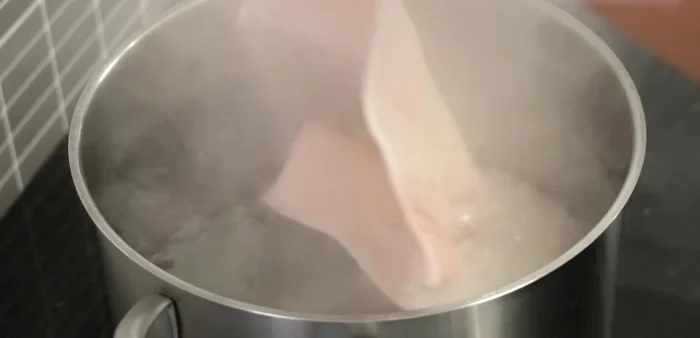
- Boil whole if your pot is large enough)
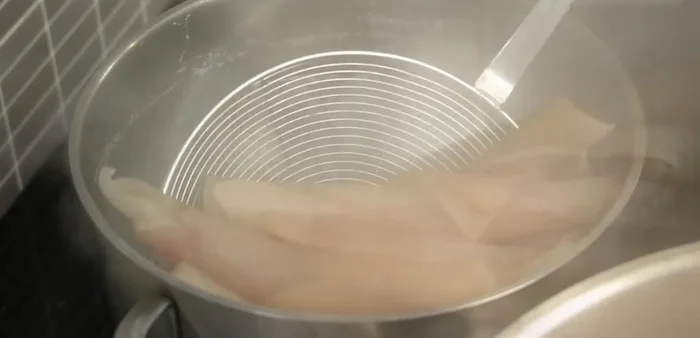
- Boil the pig skin in plain water (or salted water) over medium heat for 15-20 minutes, or until cooked through. Ensure the skin is fully submerged in water.
- Drain the water and set the boiled pig skin aside.

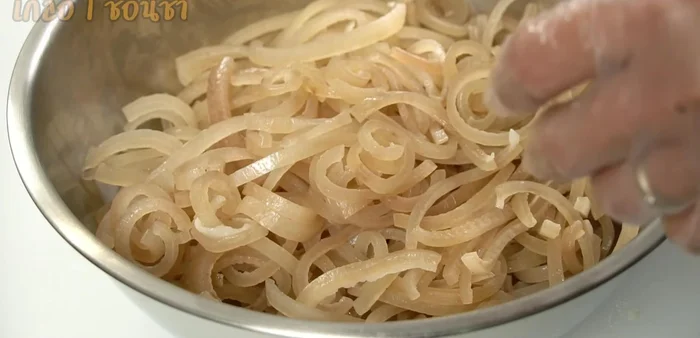
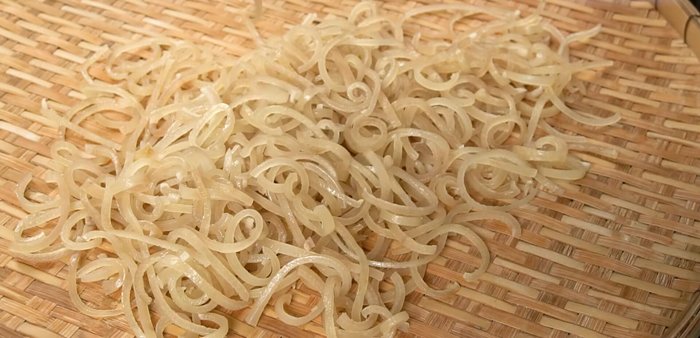
Step 2. Season and Dry
- Season the pig skin with salt (or seasoning powder) to your liking.
- Spread the seasoned pig skin evenly on a winnowing basket or tray and dry it in the sun until completely dry. Alternatively, use low heat to dry it indoors.
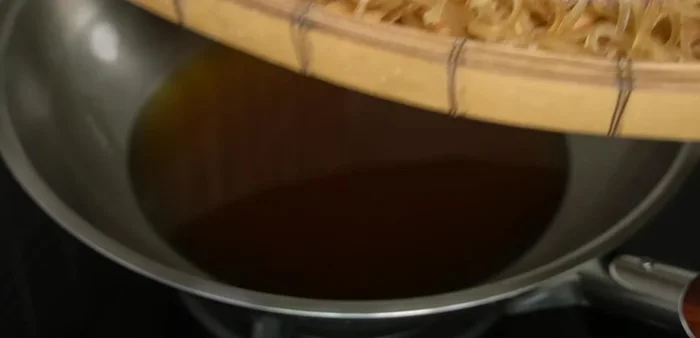
Step 3. Fry the Pork Rinds
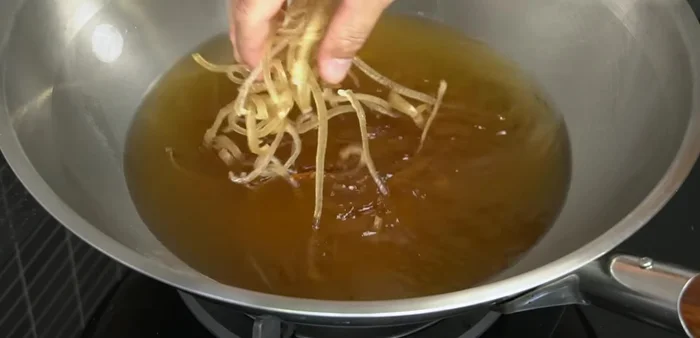
- Heat oil in a frying pan over medium heat until hot.
- Carefully add the dried pig skin to the hot oil. Fry until puffed, crispy, and lightly browned, stirring occasionally to ensure even cooking. Be mindful of oil temperature to avoid burning.
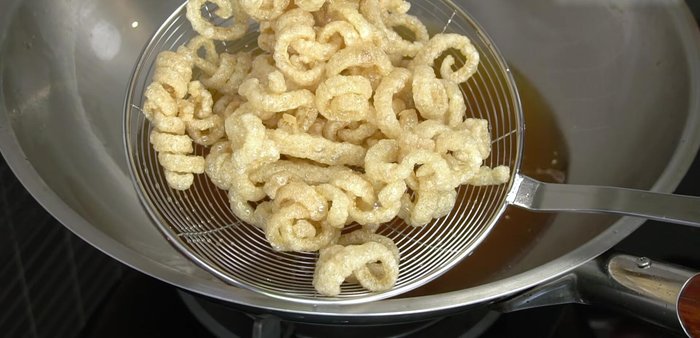
Step 4. Cool and Serve
- Remove the crispy pork rinds from the oil and let them cool.
Read more: Thai Mussel Pie Tee: Michelin-Starred Amuse-Bouche Recipe
Tips
- Cutting the pig skin into thin strips reduces drying time.
- If storing for an extended period, refrigerate the pork rinds to prevent spoilage and maintain freshness.
- Air frying can be used as an alternative cooking method.
Nutrition
- N/A
FAQs
1. Can I use any type of pork skin?
Ideally, use fresh, thin pork skin for the best results. Avoid overly thick or tough skins, as they may not crisp up properly.
2. How can I make sure my pork rinds are extra crispy?
Ensure the pork skin is completely dry before cooking. Baking at a high temperature and using a baking sheet with a rack helps achieve maximum crispiness.
3. How long do homemade fat-free pork rinds last?
Store your cooled pork rinds in an airtight container at room temperature for up to a week. For longer storage, consider freezing them.
Enjoy your crispy, fat-free pork rinds – a delicious and guilt-free snack perfect for any occasion. This recipe proves that healthy eating doesn't mean sacrificing flavor or texture. Now go forth and crunch!