Craving an authentic taste of Thailand? Look no further than Pla Pao, a delectable grilled fish dish bursting with vibrant flavors. This iconic Thai street food transcends simple grilling; it's a symphony of sweet, salty, sour, and spicy notes, expertly balanced to create an unforgettable culinary experience. The fish, typically a firm white variety, is marinated in a fragrant blend of herbs, spices, and aromatics, then expertly grilled until perfectly cooked and slightly charred. The result? Tender, juicy fish with a captivating smoky aroma that will transport your taste buds straight to the bustling streets of Thailand.
The magic of Pla Pao lies not only in the quality of the ingredients but also in the precise technique used during the grilling process. Ready to embark on a culinary adventure and master this beloved Thai dish? Let's dive into the step-by-step guide that will equip you with the skills to create your own unforgettable Pla Pao at home.
Tools Needed
- Charcoal grill
- Gas stove (optional)
- Mortar and pestle
- Open-faced pan
- Bowl
Ingredients
- Snakehead fish (or Tilapia)
- Lemongrass stalks
- Lime leaves
- Large grain salt: 500g
- All-purpose flour: 2 tbsp
- Water
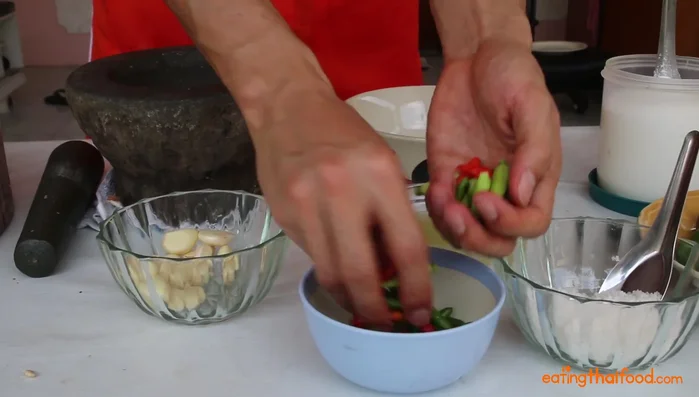
- Garlic
- Thai Prik Kee Noo (bird's eye chilies): 20
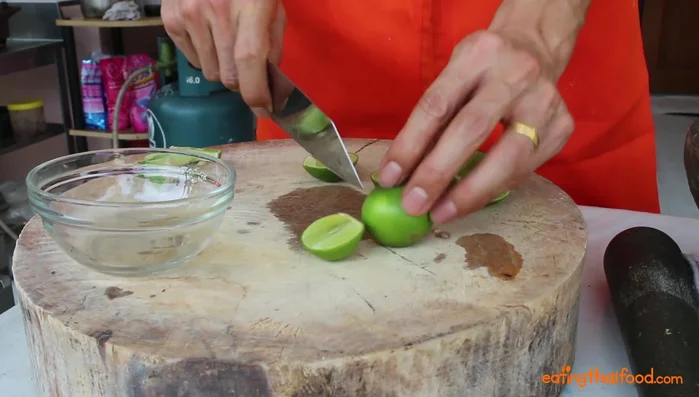
- Limes
- Sugar
- Salt
- Fish sauce
Step-by-Step Instructions
Step 1. Prepare the Fish and Charcoal
- Light the charcoal. You can use a gas stove to speed up the process.
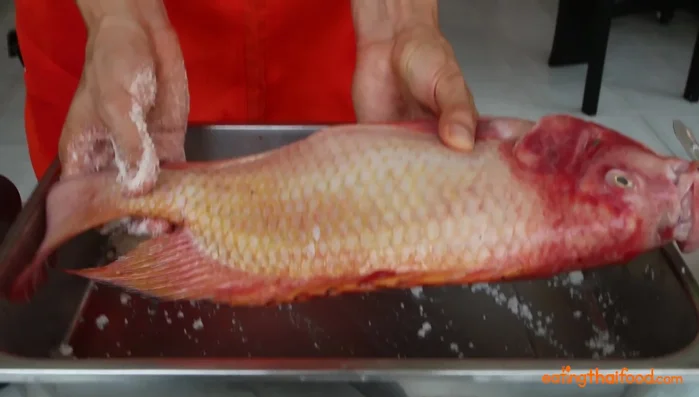
- Clean the fish (remove guts and gills, but keep scales on).
- Crush lemongrass stalks and pluck lime leaves.
- Stuff lemongrass stalks and lime leaves into the fish's mouth.


Step 2. Marinate and Prepare the Sauce
- Mix large grain salt, flour, and water in a pan.
- Coat the fish thoroughly with the salt mixture.
- Juice limes and set aside.
- Pound garlic and chilies with a mortar and pestle until oils release (about 5 minutes).

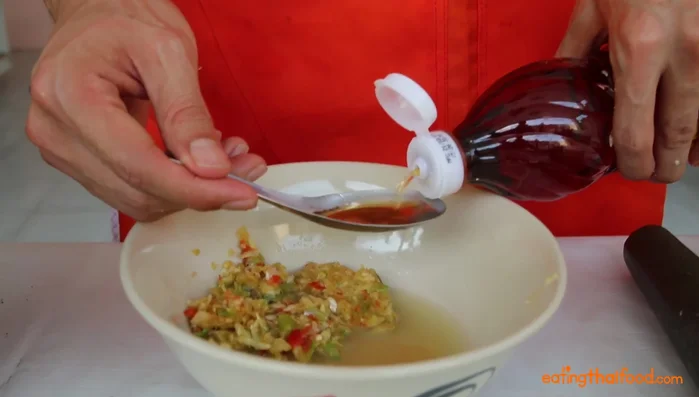
- Mix the pounded garlic and chilies with lime juice, fish sauce, sugar, and water to your preferred consistency.
Step 3. Grill the Fish
- Grill the fish over low, indirect heat. Spread out the charcoal to avoid intense heat.
- Flip the fish after about 10-15 minutes.
- Continue grilling until the fish is cooked through (about 45 minutes total).
Read more: Thai Grilled Eggplant Salad (Yum Makua Yow): A Step-by-Step Guide
Tips
- Keep the fish scales on for better salt adhesion and to prevent over-salting.
- Adjust the amount of sugar and fish sauce in the sauce to your taste.
Nutrition
- Calories: 200-350
- Fat: 5-15g
- Carbs: 10-20g
- Protein: 20-30g
FAQs
1. What type of fish is best for Pla Pao?
Firm, white-fleshed fish like snapper, sea bass, or catfish work best. They hold their shape well during grilling and absorb the marinade beautifully.
2. Can I make the marinade ahead of time?
Yes! The marinade flavors the fish even better if it sits for at least 30 minutes, or even overnight in the refrigerator.
3. How do I know when the fish is cooked?
The fish is cooked when it flakes easily with a fork and is opaque throughout. The grilling time will depend on the thickness of your fish; start checking after about 5-7 minutes per side.
With its vibrant flavors and captivating aroma, your homemade Pla Pao is sure to impress. This authentic Thai recipe is surprisingly easy to master, bringing the tastes of Thailand straight to your kitchen table. Enjoy the delicious fruits of your labor – and don't forget to share this incredible dish with friends and family!