Transport yourself to the vibrant street markets of Thailand with this recipe for Mama's Grilled Sticky Rice, a beloved family heirloom passed down through generations. This isn't your average sticky rice; it's a symphony of textures and flavors, boasting a subtly smoky char from the grill and a deliciously sweet and creamy taro filling that melts in your mouth. Imagine the fragrant steam rising from the perfectly grilled rice, each bite a burst of authentic Thai taste. The simple yet elegant preparation belies the incredible depth of flavor achieved.
Forget complicated techniques and long ingredient lists; this recipe is surprisingly straightforward, perfect for both seasoned cooks and enthusiastic beginners. We'll guide you step-by-step through the process of creating this irresistible treat, from preparing the sticky rice to achieving that signature smoky grill mark. Ready to embark on a culinary adventure? Let's get started!
Tools Needed
- Steamer
- Pan
- Mortar and pestle (or food processor)
- Container
- Grill or Air fryer
Ingredients
- Sticky rice
- Taro
- Coconut milk
- Sugar
- Salt
- Banana leaves
Step-by-Step Instructions
Step 1. Prepare the Sticky Rice and Taro Filling
- Soak overnight, then rinse and steam for 40 minutes.
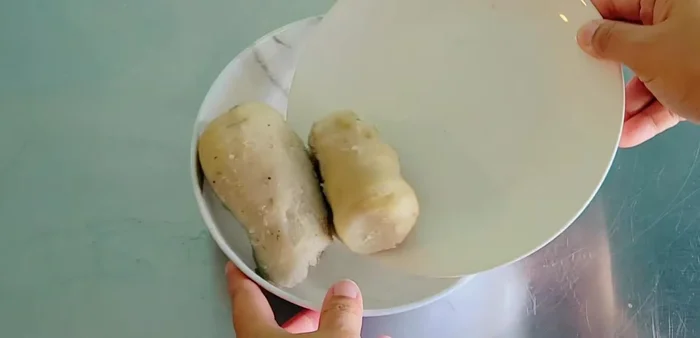
- Steam taro until cooked through.
- Mash the steamed taro.
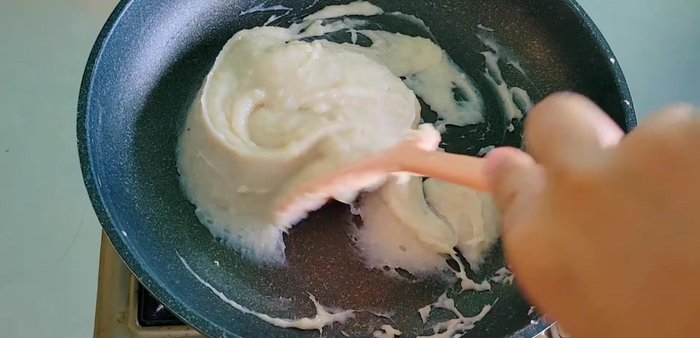
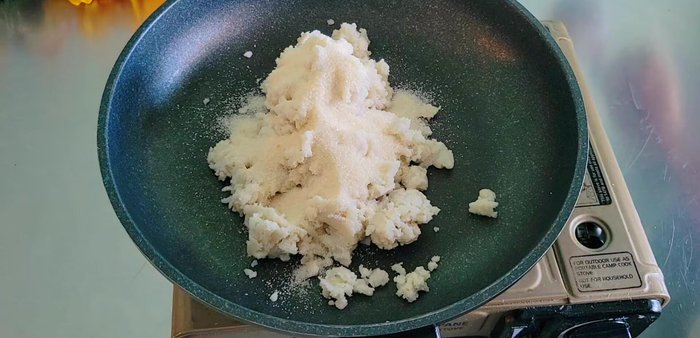
- In a pan, combine mashed taro, sugar, salt, and coconut milk. Stir-fry over medium-low heat until thickened (about 15 minutes).

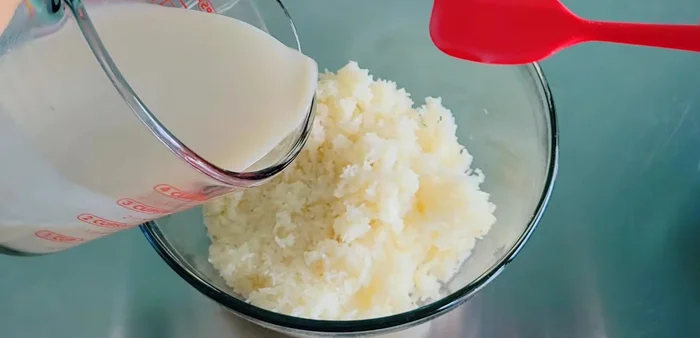
- Combine coconut milk, sugar, and salt; microwave for 30 seconds to melt sugar.
- Once sticky rice is cooked, add the coconut milk mixture and mix well. Let it rest for 30 minutes to absorb the flavors.

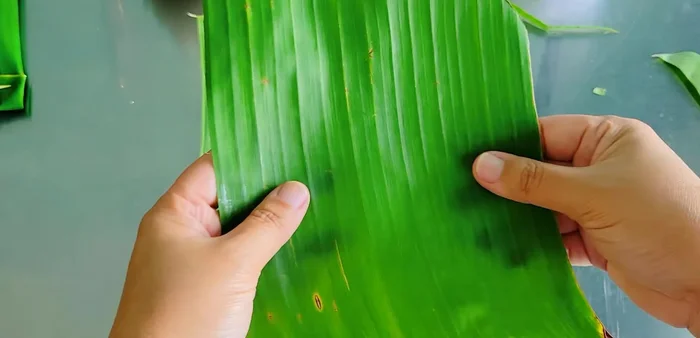
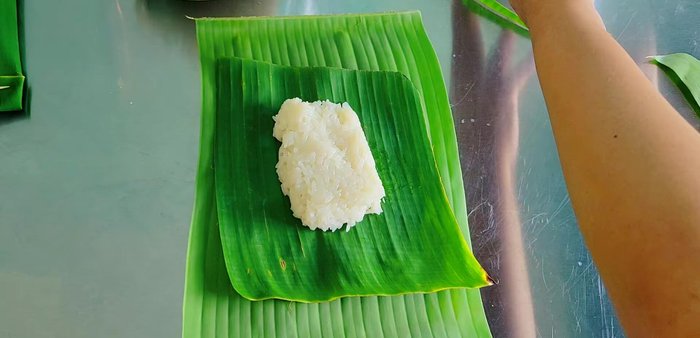
Step 2. Assemble and Fill the Banana Leaves
- Lay two leaves shiny-side down, overlapping slightly. Place sticky rice and taro filling in the center.
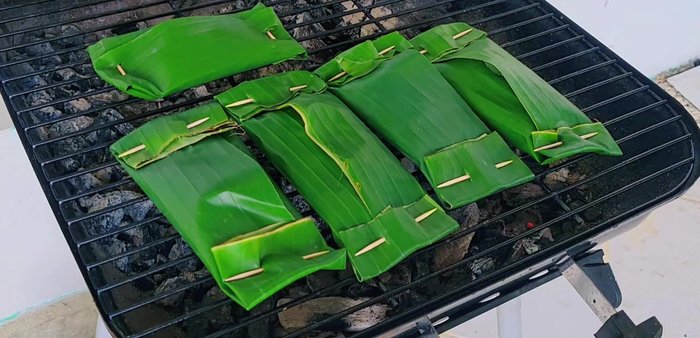
Step 3. Wrap and Secure the Banana Leaf Packets
- Wrap the banana leaves around the filling, tucking in the edges. Secure with toothpicks or skewers.
Step 4. Grill or Bake until Golden Brown
- Grill over low heat, flipping occasionally, until golden brown and crispy. Alternatively, bake in an air fryer at 150 degrees Celsius for 15-20 minutes.
Read more: Thai Grilled Eggplant Salad (Yum Makua Yow): A Step-by-Step Guide
Tips
- If fragrant taro isn't available, use long taro.
- Use low heat when grilling or baking to prevent burning.
- Adjust the amount of sugar to your preference.
Nutrition
- Calories: varies
- Fat: variesg
- Carbs: variesg
- Protein: variesg
FAQs
1. Can I make this recipe without a grill?
Yes! You can achieve a similar (though slightly less smoky) result by pan-frying the sticky rice in a lightly oiled pan over medium heat until golden brown.
2. Where can I find taro?
Taro is commonly found in Asian grocery stores, and sometimes in larger supermarkets in the produce section. Look for firm, unblemished tubers.
This simple yet rewarding recipe for Grilled Sticky Rice with Taro Filling brings a taste of Thailand right to your kitchen. Enjoy the satisfying sweetness and smoky char of this delicious street food favorite, perfect as a snack or a delightful dessert. Now go forth and impress your friends and family with this authentic and easily achievable Thai treat!