Crispy Fried Taro Bird's Nest – a delightful and surprisingly simple snack that's perfect for any occasion! Imagine the satisfying crunch of golden-brown taro, delicately shaped into nests, each one a tiny treasure trove of flavor. This irresistible treat is far easier to make than you might think, offering a unique twist on classic fried snacks. Forget complicated recipes and lengthy preparations; this recipe prioritizes ease and deliciousness, using readily available ingredients to create an appetizer that’s both visually appealing and incredibly tasty. The delicate, slightly sweet taro contrasts beautifully with the crispy exterior, making it a crowd-pleaser for both young and old.
This recipe unveils the secrets to achieving perfectly crispy, golden taro nests every time. Ready to create your own batch of these addictive snacks? Let's dive into the easy step-by-step instructions below!
Tools Needed
- Grater
- Pan
- Strainer
- Scissors
- Container or cup
Ingredients
- name: Fragrant Taro
- amount: 1 large head
Step-by-Step Instructions
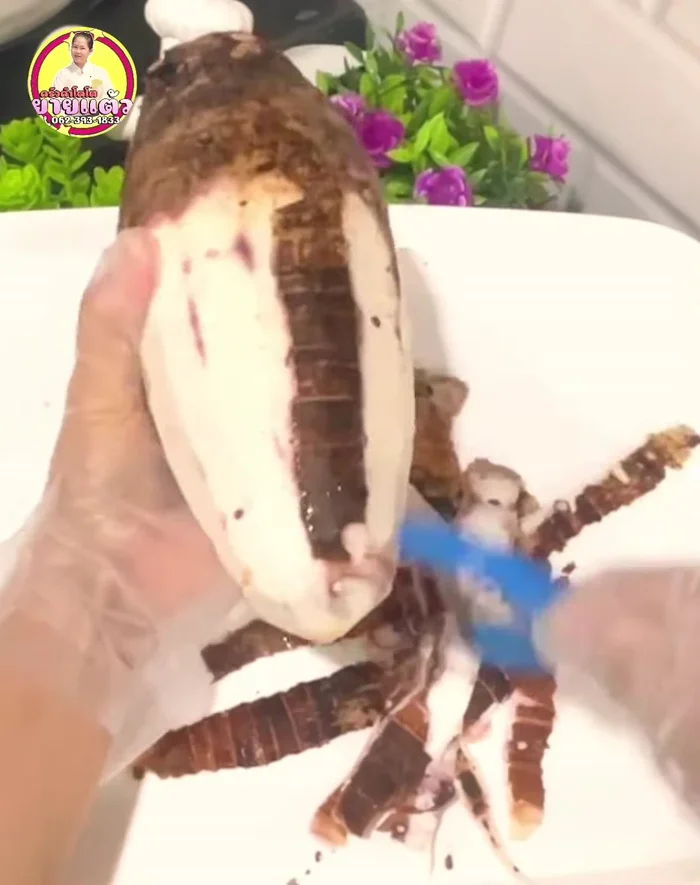
Step 1. Prepare the Taro
- Wash and peel the taro. Remove any bruised or discolored parts
- Grate the taro lightly, avoiding excessive pressure to prevent it from becoming too thin. You can use scissors to cut any thin pieces into strips.
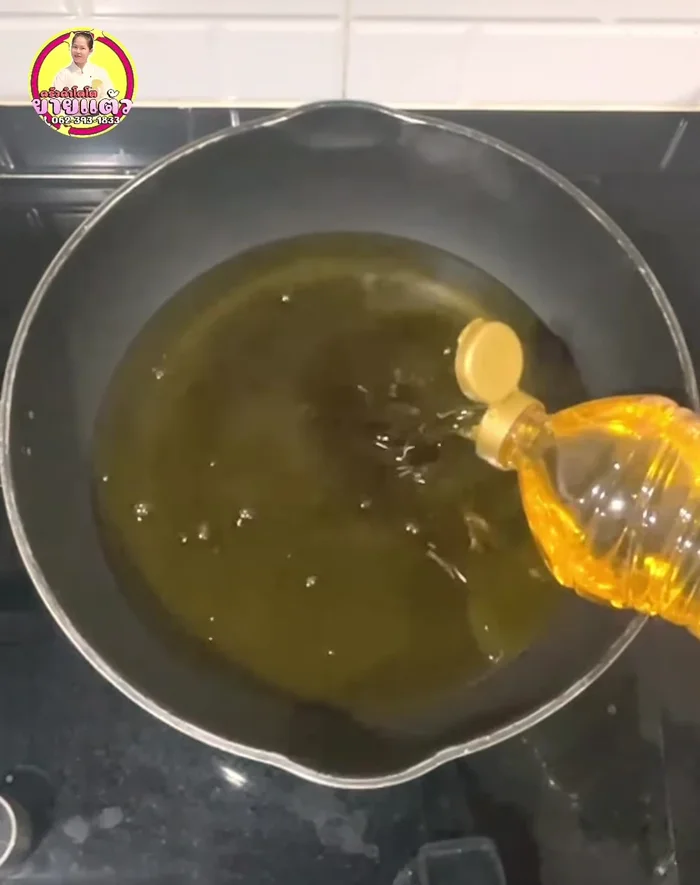
Step 2. Infuse and Fry the Taro
- Heat a pan with oil over medium-low heat. Add 3 pandan leaves (washed and dried) to the oil before it gets too hot to infuse aroma. Fry for 2-3 minutes then remove.
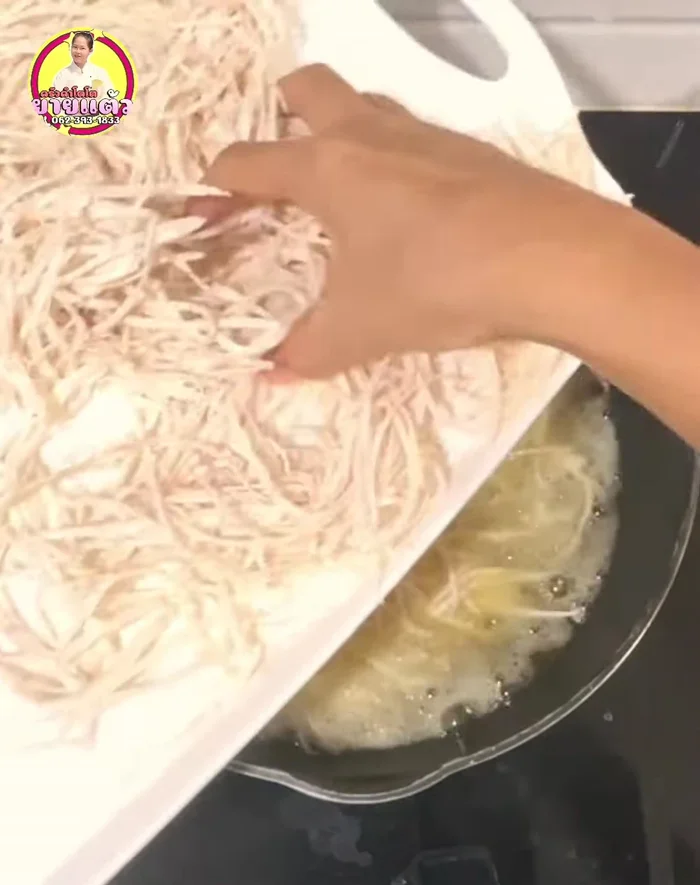
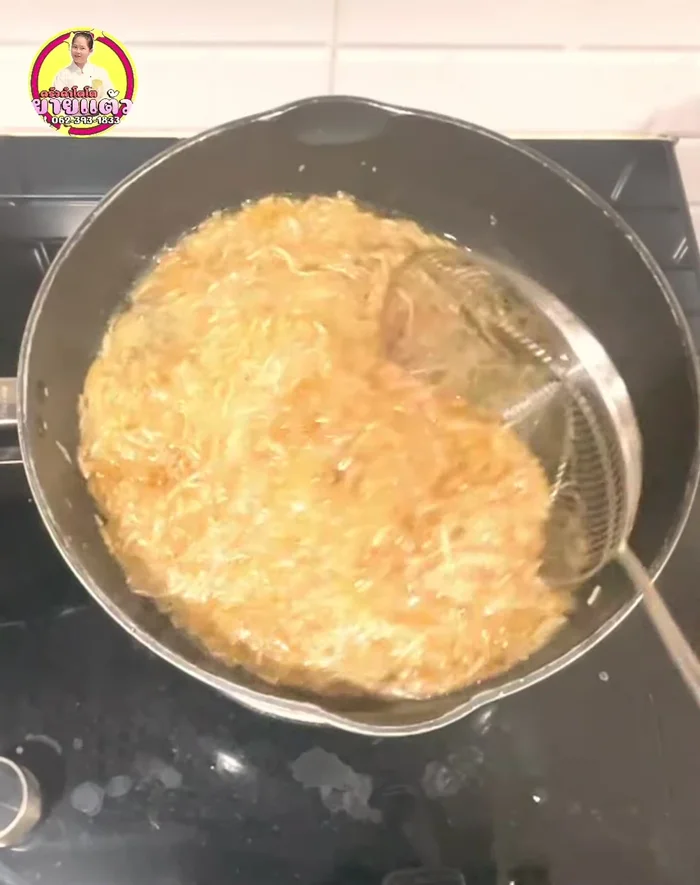
- Add the grated taro to the pan. Fry over medium-low heat. After about 5 minutes, use a strainer to press the taro down ensuring all parts are submerged in the oil.
- Continue frying gently for about 15 minutes, stirring occasionally during the first 5 minutes to prevent sticking. Avoid high heat to prevent burning.
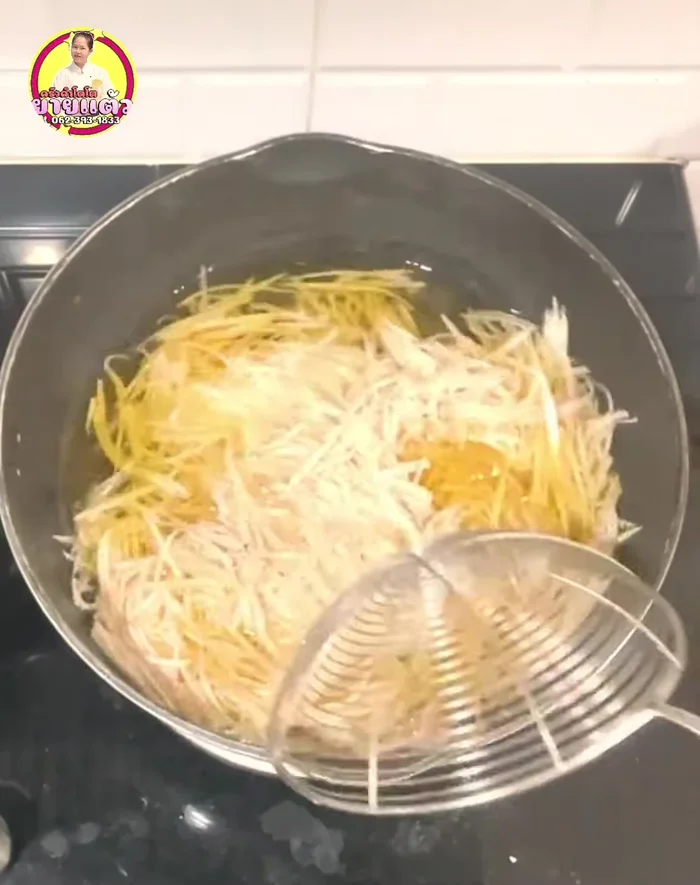
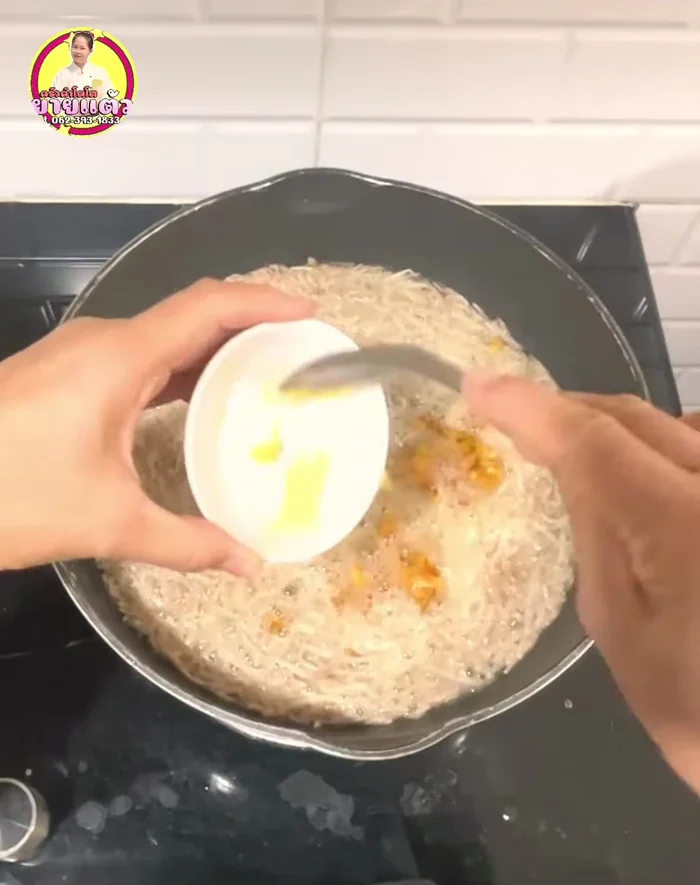
Step 3. Season and Crisp
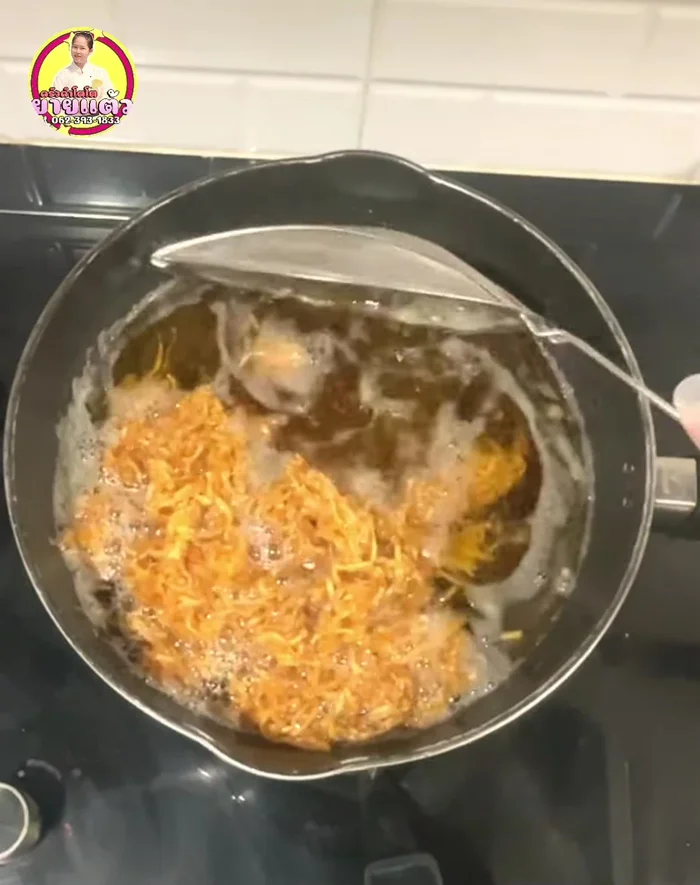
- Add 3 tablespoons of coconut sugar (or to taste) and 1 tablespoon of salt. Stir gently until the sugar dissolves and the taro turns yellow.
- Once the taro is golden yellow and crispy, scoop it out and drain excess oil using a strainer.
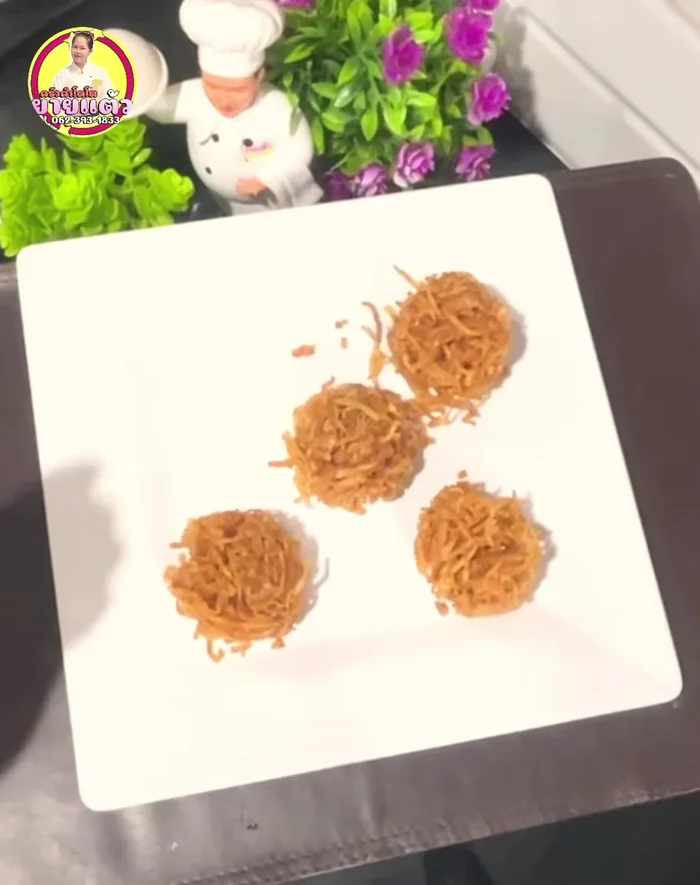
Step 4. Shape and Cool
- Quickly mold the hot taro into a bird's nest shape using a container or cup before it cools down.
- Let it cool, then store in a container or bag.
Read more: Crispy Garlic Green Beans: A Mom's Recipe
Tips
- Use fragrant taro for best flavor.
- Choose a large taro head for easier grating.
- Use medium-low heat throughout the frying process to ensure even cooking and crispiness.
- Don't overcook the taro or it will become mushy.
- Work quickly when shaping the taro nests as it cools quickly.
Nutrition
- N/A
FAQs
1. Can I use frozen taro?
Yes, you can use frozen taro, but make sure to thaw it completely and pat it dry before using. Excess moisture will prevent crispiness.
2. What can I dip my taro bird's nests in?
Sweet chili sauce, honey, or even a sprinkle of sea salt are all delicious dipping options. Get creative and experiment!
So there you have it – your very own batch of crispy, golden taro bird's nests! This recipe proves that delicious and impressive snacks can be surprisingly simple to make. Enjoy this delightful treat with friends and family, and don't be afraid to experiment with different dipping sauces to find your perfect match.