Crispy, salty, and utterly irresistible – fried pork rinds are the ultimate guilty pleasure snack. These crunchy delights offer a satisfying textural contrast and a surprisingly addictive flavor profile that transcends simple salty crunch. Forget the bland, overly-processed bags from the store; this recipe unlocks the secret to achieving perfectly golden, shatteringly crisp pork rinds right in your own kitchen. Using readily available ingredients and a simple technique, you’ll elevate this humble snack to a culinary masterpiece. Beyond their addictive quality, these homemade pork rinds boast a satisfyingly low-carb and high-protein profile, making them a surprisingly healthy indulgence.
Forget complicated recipes and lengthy preparation times. This quick and easy guide will walk you through the process step-by-step, transforming humble pork skins into a sensational snack in minutes. Prepare to be amazed by how simple it is to create restaurant-quality fried pork rinds that will leave you craving more. Let's get started!
Tools Needed
- Knife
- Mixing bowl
- Large frying pan
- Tongs
- Basin
Ingredients
- Fatty pork (thinly sliced): 8 kg (or adjust as needed)
- Salt: 4 tablespoons
- Baking powder: 2 packages (approx. 60g for 8kg of pork)
Step-by-Step Instructions
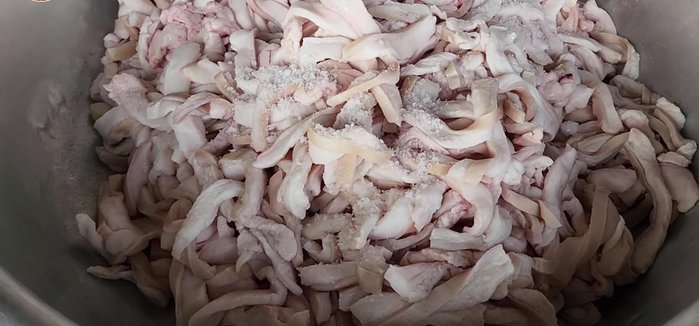
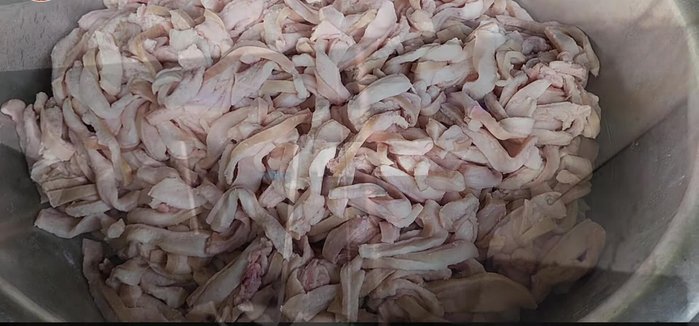
Step 1. Prepare and Marinate the Pork
- Use thin slices of fatty pork, about 3-4mm thick. Pre-cut pork belly is ideal to save time.
- Mix the pork with salt and baking powder. Marinate for about 5 minutes.

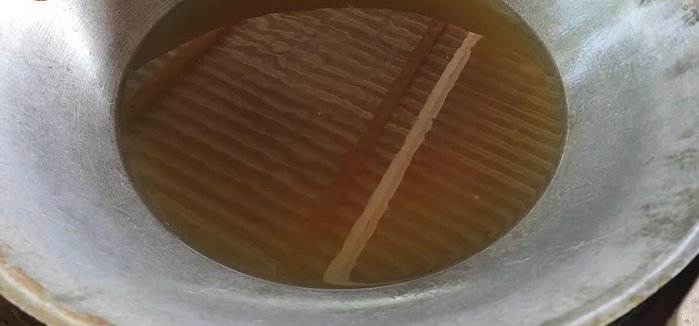
Step 2. First Fry and Rest
- Fry the pork rinds over medium heat until they are about half-cooked and slightly puffed. Remove and let them rest for 30 minutes.
Step 3. Separate, Soak, and Second Fry
- Separate any pieces that are sticking together, soak them in water, then fry again.
- Re-fry the pork rinds over medium heat until they are golden brown, crispy, and make a popping sound. Add water this time to prevent sticking.

Step 4. Cool and Serve
- Remove the pork rinds from the oil, let them cool completely, and serve.

Read more: Crispy Garlic Green Beans: A Mom's Recipe
Tips
- Use fresh pork for the best results. If the pork isn’t fresh, the rinds may stick together.
- The thickness of the pork affects cooking time. Thicker slices will take longer to cook, but may result in crispier rinds.
- Using different parts of the pork skin can influence the puffiness of the rinds. The skin attached to the pig's head is a good option.
- This recipe is designed for a quick turnaround, ideal for market sales. If you have more time, you can adjust the thickness of the pork and cooking times for even crispier results.
Nutrition
- N/A
FAQs
1. Can I use store-bought pork rinds instead of starting with raw skins?
While this recipe uses raw pork skins for the best results, you can experiment with store-bought pre-cooked rinds. However, they may not achieve the same level of crispiness. Adjust cooking time accordingly, watching closely to prevent burning.
2. How can I make sure my pork rinds are extra crispy?
Ensure the skins are completely dry before frying. Use enough oil to fully submerge them, and maintain a consistent high temperature (around 350°F/175°C). After frying, drain on a wire rack to allow excess oil to drip away. For extra crunch, you can even bake them briefly at a low temperature (around 200°F/95°C) after frying.
So there you have it – perfectly crispy, homemade pork rinds that are far superior to anything you'll find in a store. This simple recipe delivers a big flavor punch with minimal effort, proving that sometimes the best things in life are the easiest to make. Now go forth and enjoy your crunchy, salty reward!